

What’s Supported
Supported Actions
This connector supports:- Proxy Actions, using the base URL
https://{{.workspace}}.service-now.com.
Before You Get Started
To integrate ServiceNow with Ampersand, you will need a ServiceNow Instance. Once your instance is set up, you’ll need to create a ServiceNow application and obtain the following credentials:- Client ID
- Client Secret
Create a ServiceNow Instance
If you don’t already have a ServiceNow instance:- Go to the ServiceNow Developer Portal.
- Sign up for a Personal Developer Instance (PDI).
Creating a ServiceNow Application
Follow the steps below to create a ServiceNow application:- Log in to your ServiceNow instance.
- Navigate to System OAuth > Application Registry.
- Click New to create a new application.
- Choose Create an OAuth API endpoint for external clients.
- Fill in the required fields:
- Name: Your application name
- Client ID: Will be auto-generated
- Client Secret: Will be auto-generated
- In the Redirect URL field, enter:
https://api.withampersand.com/callbacks/v1/oauth - Set the appropriate access and refresh token lifespan.
- Click Submit.
Add Your ServiceNow App Info to Ampersand
- Log in to your Ampersand Dashboard.
- Select the project where you want to create a ServiceNow integration.
- Select Provider Apps.
- Select ServiceNow from the Provider list.
- Enter the previously obtained Client ID in the Client ID field.
- Enter the Client Secret in the Client Secret field.
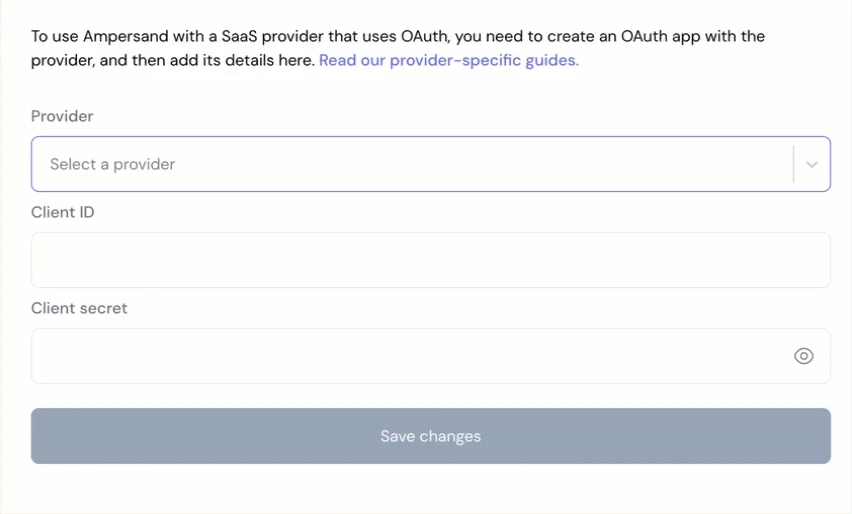
- Click Save Changes.